How to Enhance Wedding Photos Naturally (and Make Them Print-Ready) with Smart Pixels
Wedding photos are supposed to feel timeless, but the raw files don’t always cooperate. A ceremony aisle shot might be backlit and hazy, reception portraits can turn soft from low light, and group photos often hide little distractions you didn’t notice until you zoom in later. The goal of enhancement isn’t to “change” what happened—it’s to make the image match how the moment felt: clear faces, flattering light, true-to-life color, and details that hold up in albums and frames.
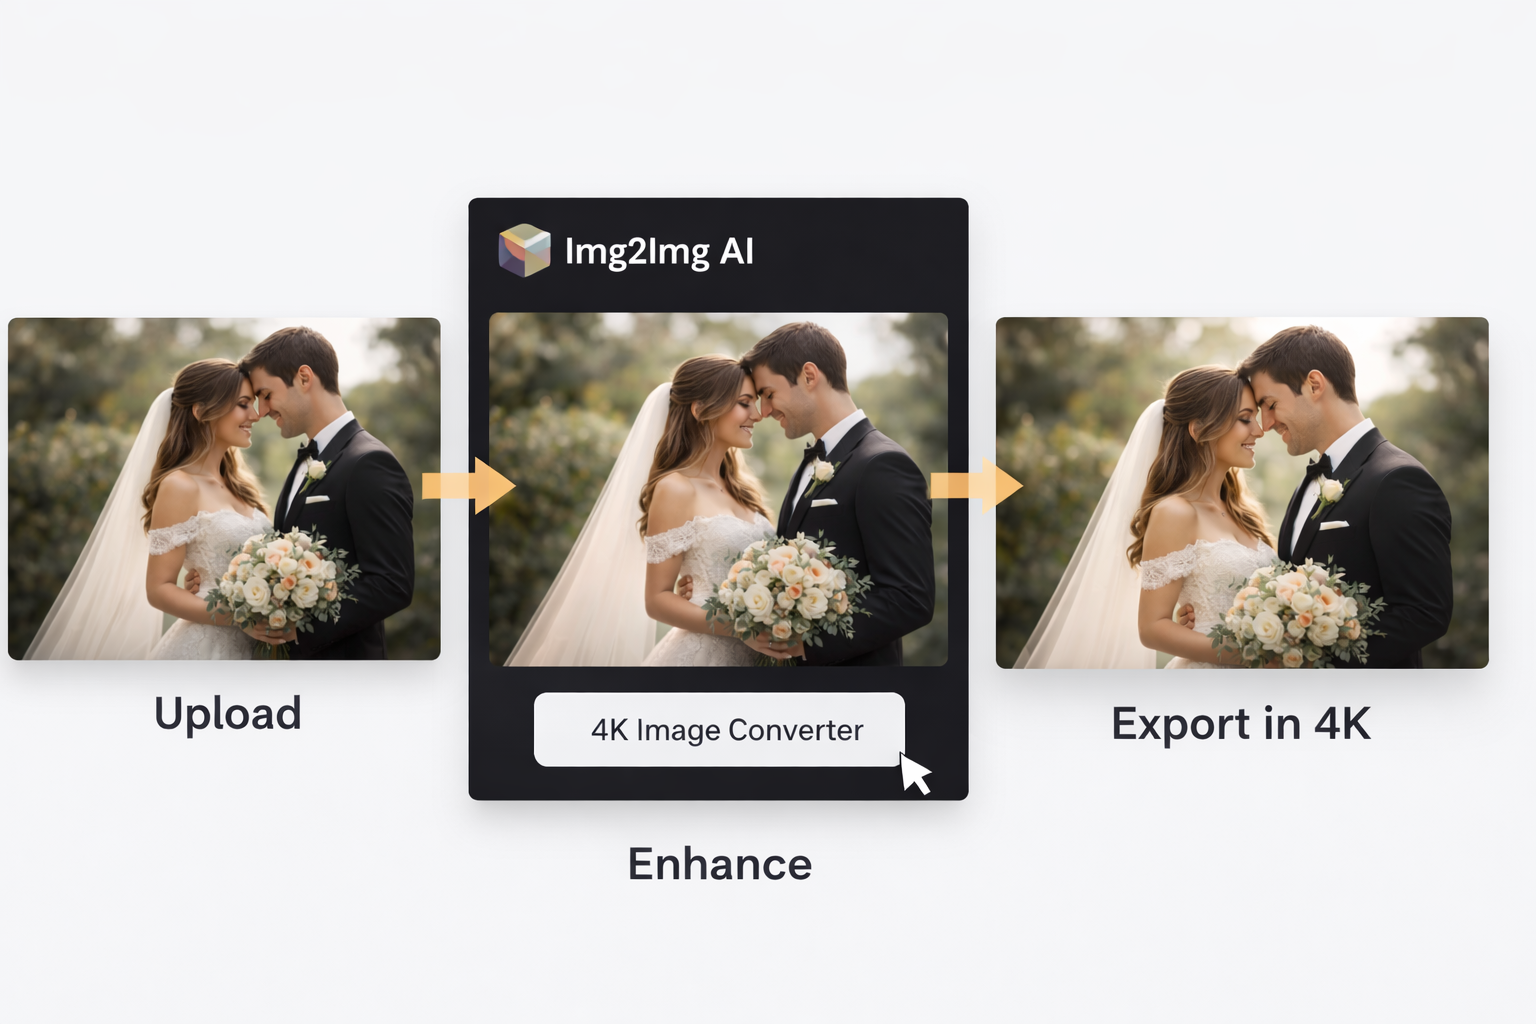
Smart Pixels is built for this kind of practical finishing work. It works as an ai image editor that helps you clean up common wedding-photo problems quickly, then lets you export a crisp, high-resolution version using the 4K Image Converter when you’re ready to share or print.
Why wedding photos often need enhancement
Even with a great camera (and a great photographer), weddings are chaotic environments for images. Here are the most common reasons your gallery may need a second pass:
- Challenging lighting: Indoor venues mix warm bulbs, LEDs, and window light, which can throw skin tones off and create uneven exposure across the frame.
- Low-light softness and noise: Dancing, speeches, and candlelit moments often require higher ISO or slower shutter speeds, which reduces sharpness and adds grain.
- Backlit haze: Outdoor ceremonies and golden-hour portraits can look dreamy, but the camera may record them as flat or washed out.
- Close-up imperfections: A tight crop can emphasize tired eyes, shine, small blemishes, or uneven makeup—especially under harsh lighting.
- Background distractions: Exit signs, bright phones, cluttered tables, or a random guest mid-step can pull attention away from the couple.
A good enhancement workflow fixes these issues while keeping the photo believable. The best edits are the ones nobody notices—they just feel like the “best version” of that moment.
The “clean-to-crisp” rule: enhance first, upscale last
A common mistake is upscaling too early. If the photo is still noisy, underexposed, or color-shifted, increasing resolution can make those problems more obvious. A better sequence is:
- Correct light and color so the photo already looks right.
- Improve clarity and reduce blur in a subtle, controlled way.
- Retouch only what distracts, not what makes people look like themselves.
- Finish with the 4K Image Converter so the final export is crisp and display-ready.
This is where Smart Pixels shines: it helps you do the “cleanup” work first, then lets the 4K Image Converter turn your finished image into a high-resolution version that looks great on large screens and in print.
A simple Smart Pixels workflow you can repeat across a gallery
You don’t need a complicated process to get consistent results. Here’s a workflow that works well for wedding photos, whether you’re polishing your own pictures or helping a friend tidy up a full set.
Step 1: Choose your “hero” photos first
Start with the images that matter most: the couple portraits, ceremony moments, family group shots, and the highlights that will be printed or framed. This saves time and keeps your edits consistent.
Step 2: Fix exposure and color before anything else
If faces look too warm, too green, or too dark, solve that first. Natural skin tone is the fastest way to make a wedding photo feel high-quality. The goal is balanced, flattering light—not an overly bright image that loses the mood.
Step 3: Reduce blur and noise with restraint
Wedding photos often need a gentle clarity boost, especially in low light. Go easy: over-sharpening creates halos around hair and edges, and aggressive smoothing can make skin look plastic. A good ai image editor helps you lift detail without turning the photo into a filter.
Step 4: Remove small distractions that steal attention
This is where “one tiny fix” can dramatically improve an image: remove a bright phone in the corner, soften a distracting sign, or clean up background clutter. The couple should be the sharpest, most readable part of the frame.
Step 5: Export with the 4K Image Converter
Once the photo looks right at normal viewing size and at 100% zoom, export using Smart Pixels’ 4K Image Converter. This is ideal when you’re creating an album spread, cropping tighter for faces, or preparing a slideshow on a modern TV.
Step 6: Save two versions (print and web)
Keep a high-resolution export for printing and archiving, then create a lighter web version for sharing. This keeps your originals safe and makes posting faster.

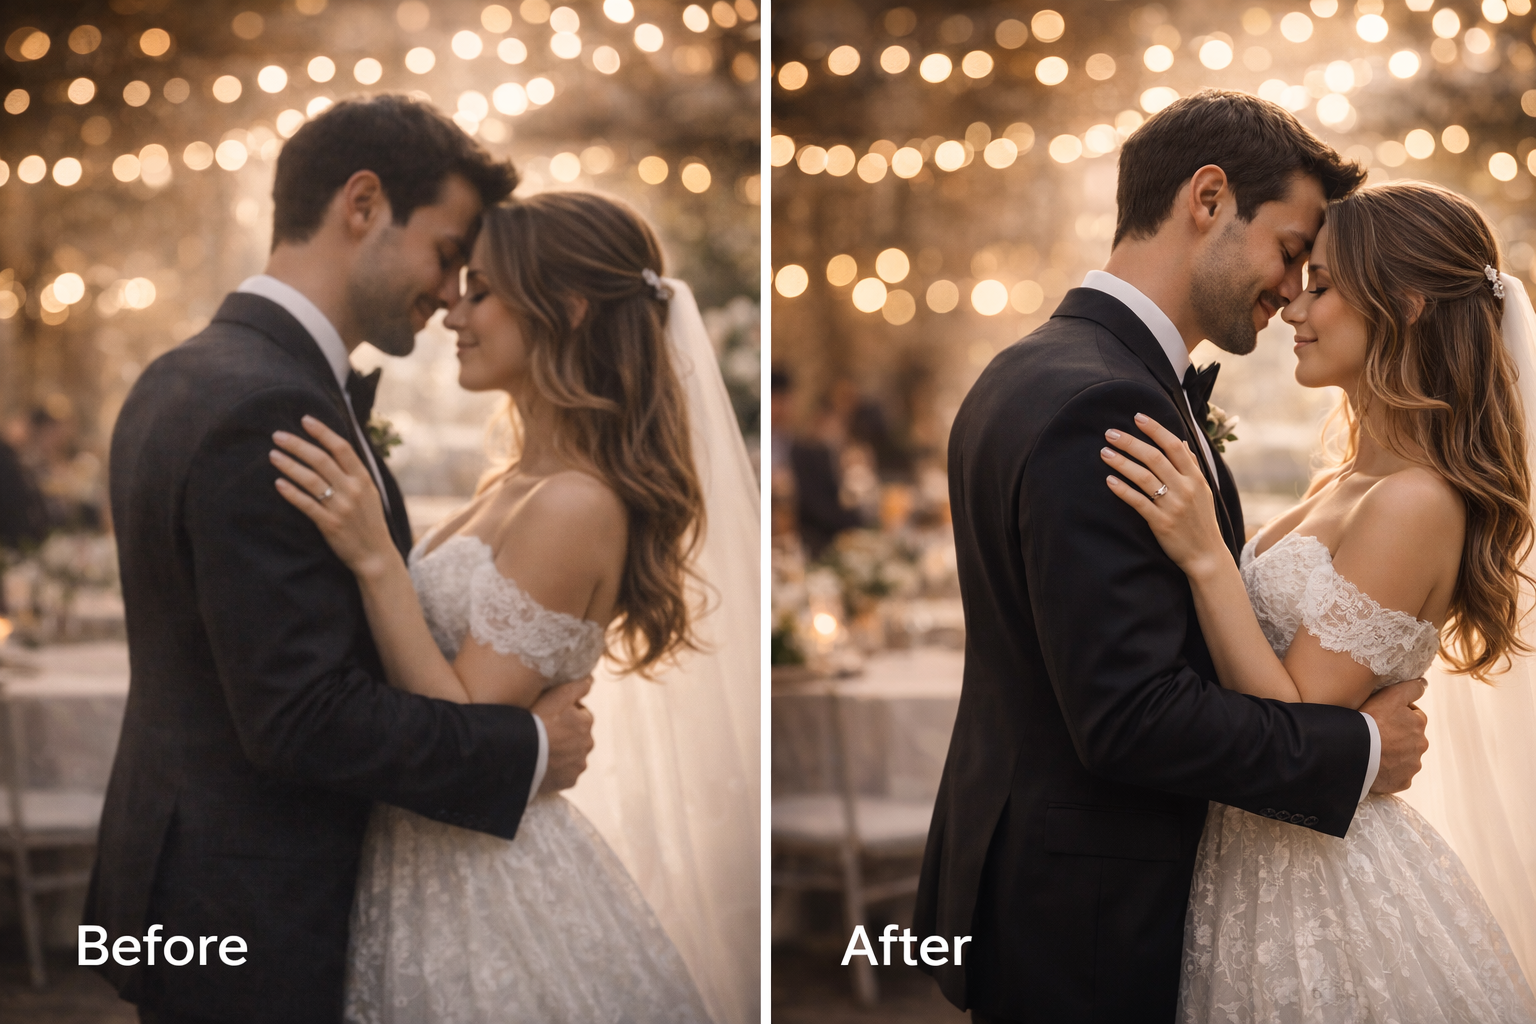
Mini case study: saving a dim reception portrait without making it look “AI”
Picture a classic reception scene: warm candles, dark background, and the couple leaning in for a quiet moment. The photo is beautiful—but slightly soft, a bit noisy, and the warm lighting pushes skin tones orange. You want it to feel intimate, not edited.
Here’s a natural approach with Smart Pixels:
- Balance the warmth so skin looks healthy, but the candlelit mood stays. If you neutralize everything, the photo stops feeling like the reception.
- Lift shadows gently to reveal faces and clothing texture, without flattening the entire image.
- Refine clarity where it matters (eyes, lashes, hairline, suit lapels, lace details) while leaving skin texture intact.
- Clean the background lightly so noise and clutter don’t compete with the couple.
- Finish with the 4K Image Converter so the portrait holds up when printed or cropped tighter.
The result should feel like the same moment—just clearer, more flattering, and more “final.”
Smart Pixels vs other options: what should you use, and when?
There’s no single best tool for every wedding photo. The key is picking the right approach for the outcome you need.
Smart Pixels (ai image editor + 4K Image Converter)
Best when you want natural enhancement plus a clean high-resolution export. If you’re building an album, framing a portrait, or preparing a slideshow, Smart Pixels helps you polish the image and then export a crisp final version using the 4K Image Converter.
One-tap mobile enhancers
Great for speed and convenience, especially for quick social posts. The downside is that they can overdo smoothing or sharpening, and you may have less control over subtlety—important for wedding photos where skin and fabric texture matter.
Pro desktop editors (Lightroom/Photoshop-style workflows)
Best for advanced, selective retouching: local adjustments, masking, and detailed control. The tradeoff is time and learning curve. If you’re editing hundreds of wedding images, you may prefer something faster for the bulk of your gallery, then reserve desktop tools for a few hero shots.
Tips to avoid the “over-processed” look
If you want wedding photos to stay timeless, these small checks make a big difference:
- Always check faces at 100% zoom before exporting. Eyes, teeth, lashes, and hair edges reveal over-processing fast.
- Protect skin texture. Wedding edits should be flattering, not airbrushed into plastic.
- Watch patterned fabrics like lace and suits. Over-sharpening can create crunchy textures.
- Keep backgrounds softer than faces. Let the couple stay the focal point.
- Compare before/after side-by-side. If the enhanced version feels like a different day, pull it back.
A good ai image editor should help you get to “cleaner and clearer” without rewriting reality.
FAQs about enhancing wedding photos
Do I need editing skills to enhance wedding photos?
Not really. A modern tool like Smart Pixels can handle common fixes quickly. The main skill is knowing when to stop—keeping the result natural and consistent.
Can I enhance old, blurry, or low-resolution wedding photos?
Yes, especially if the goal is clearer faces and better readability. Enhance first for color and clarity, then use the 4K Image Converter to export a crisp version for modern screens or prints.
Should every wedding photo be converted to 4K?
No. Prioritize the photos you’ll print, frame, crop heavily, or use as full-screen images. For casual sharing, a standard export is often enough.
What’s the safest way to keep results natural?
Use small improvements: subtle clarity, gentle retouching, and realistic skin texture. Then export with the 4K Image Converter only after the image already looks right.
Final thoughts: let your photos look the way the day felt
Wedding photos are emotional records, not just pixels. The best enhancement respects the original moment while fixing the issues cameras can’t avoid: tricky light, softness, noise, and distractions. Smart Pixels gives you a simple, repeatable path: polish with an ai image editor, then finish strong with a 4K Image Converter so your favorites are ready for albums, frames, and big screens.